To create a new venue, go to Settings in the navigation bar then click on Create New Venue. If you have just signed up to MyHallWizard, you will be taken to this function automatically once you have verified your email address.
New venues create a new account with MyHallWizard. They start off with a free trial, after which you need to subscribe, or, if eligible, you would be transferred automatically to our free tier.
1. Creating the new venue #
Start off by entering the details of your venue.

The email address, phone number, address and website are all displayed on your invoices and may be used elsewhere in MyHallWizard. Additionally, the email address is used for outgoing emails to your customers. You should therefore use the contact details for your venue (e.g. the email address you use to take bookings), rather than your own personal details.
Calendar URL is the address you use to access your calendar. It must be unique within MyHallWizard, so if another venue is already using the URL you enter, you will be told after you hit Save. We populate this field when you enter your venue name, but we do not check that the value we suggest is unique.
You can upload a venue logo. This is used on your invoices and may be used elsewhere in MyHallWizard.
Note that we are very keen to make sure MyHallWizard is set up properly in each country. If you are the first venue to register in a certain country, we will need to set up a call with you to check how to set up in that country. For example, we will ask you about what information is needed for a bank transfer, we will ask about sales taxes such as VAT or GST, and so on. You will need to wait for us to set the system up for the country before you can proceed, though this should normally only take a few hours after our meeting. In return for your help, we will offer you a small discount on our subscriptions.
2. Tell us about your rooms #
The next job after setting up a venue is to tell us about your rooms.

Click Add Room to enter the Rooms module.

Now enter the name of the room. You should choose a colour to represent the room in the Calendar (use a different colour for each room). Optionally enter the capacity of the room, i.e. the number of people the room can accommodate. And enter your usual price for room bookings – per hour or per session.
We will add additional price lists later.
After you click Save, you have the option to add other rooms as well.

When you have finished entering your rooms, click Close.
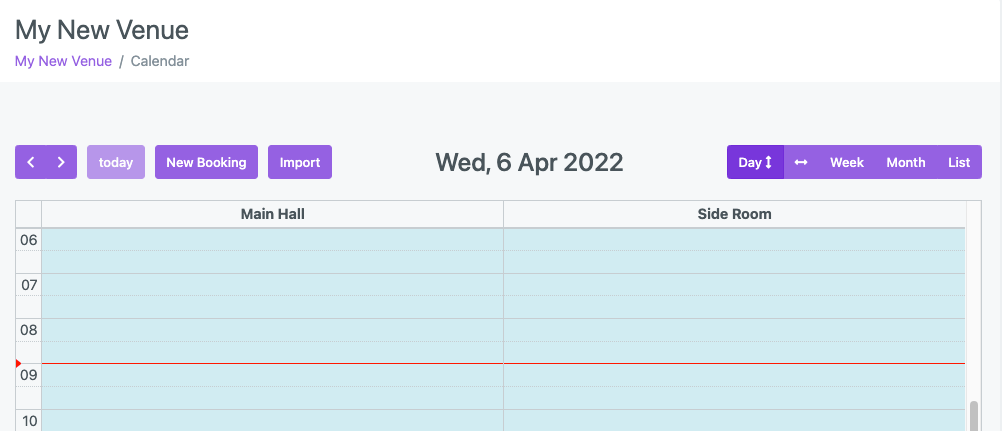
Your Calendar is now configured and ready to use.

If you are a newly registered user, we will offer you the chance to take a quick tour of the product.
3. Add your customers and make your first booking #
You are now ready to make your first bookings. Here is how to go about it:
1. Add your customers – go to the Customers menu, click New Customer and enter customer details. We have already created an entry in the customer database for your own internal bookings.
If you already have your customers listed on a spreadsheet, you have the option to Import these. Click the Import button and follow the instructions. If you get stuck, send us your spreadsheet and we’ll do it for you.
2. Create your first bookings – go to the Bookings menu to display the calendar. You can either click New Booking or you can click on the calendar at the correct date and time to create the booking. Regular bookings can be set to repeat automatically. Once again, there is the option to import bookings from a spreadsheet.
4. Further Configuration #
If you need further price lists, for example you offer discounts to local residents, you charge different prices at different times of the day or at weekends or for certain types of event, or you have a specially agreed price list for a specific customer, you can now set each price list up. Click on Settings in the navigation bar to enter the Settings module, then click on Price Lists. See How can I charge different prices for some customers? for further instructions.
There are a number of other features you may wish to set up. You can access all these from the Settings module.
- Invoice and Payment options – go to Invoice and Payment Settings
- Extras – these are additional charges you may wish to associate with bookings such as Use of Kitchen, Alcohol Licence, etc.
- Users – invite other members of your team as users of your venue’s account
- Calendar settings – change the first day of the week or set up buffer periods between bookings.
- Public Calendar – you can embed a calendar into your own website, or alternatively link to your own page in the MyHallWizard application. Go to Calendar Settings to switch this on.
- Booking Enquiries – allow customers to make booking enquiries. You then review the enquiry before confirming it as a booking. Go to Calendar Settings to set this up (we recommend reading the knowledge base article on Enabling Booking Enquiries first)
- Email Templates – change the wording of the emails MyHallWizard sends.
